A neighborhood wants to preserve the dishes people actually cook, and nobody has time for a huge project. Here is how to make a community cookbook that keeps both the recipes and the memories behind them.
Quick answer: Collect recipes through small, easy asks, such as a recipe card at a potluck. Add a short story for each dish, standardize the recipes, credit every contributor, then choose a print route that suits the group. Start with the simplest step and escalate only when the project needs it.
This guide sits within the how does music build community conversation in the Community Stories and Local Culture hub, where food, music and memory projects are treated as related ways of recording a place.
Step one: Gather recipes with the lowest-effort asks
The simplest way to collect recipes from neighbors is to ask at a gathering people already attend. Cookbook Specialists, a custom cookbook printer, suggests that you have people bring a recipe card with their dish, so the recipe arrives together with the food it describes.

- Ask at a potluck. Place blank recipe cards by the sign-up sheet and ask each guest to fill one in for the dish they bring.
- Send a form with the invitation. The same printer recommends sending a recipe collection form with the invite, which gives people time to write the recipe out properly rather than from memory on the day.
- Stay with tried-and-true dishes. The printer’s advice is to use tried-and-true recipes from members of your community or group to create a keepsake cookbook. A recipe someone has cooked for years is a better candidate than a new experiment.
- Keep the form short. Ask for the dish name, ingredients, method and the contributor’s name. Leave one open space for a note about where the dish comes from, which feeds the next step.
A public library is a sensible place to ask for space, notice boards or a collection box. The American Library Association has reported that libraries use projects such as gardens to promote community engagement, which suggests they welcome neighborhood food projects. Once cards and forms are coming in, the next step is to capture what sits behind them.
Step two: Capture the story behind each dish
A recipe tells a reader what to cook, while a story explains why the dish matters. Pairing the two is what turns a collection of instructions into a record of food history in your neighborhood.
Interview the cook about one dish
Voice of Witness describes a classroom project in which students interviewed relatives and community members about a meaningful recipe. They then prepared a story about the narrator and brought everything together in a cookbook. The same pattern works for a neighborhood: one conversation per contributor, built around a single dish.
- Pick the dish first. Let the contributor choose a recipe that means something to them, then ask who taught it, when it is cooked and who it is cooked for.
- Write the story afterward. Turn the conversation into a short passage about the narrator, and let the contributor read it before it is printed.
- Expect surprises. In the Voice of Witness project, some students learned things about their parents that they never knew. Leave room in the interview for tangents.
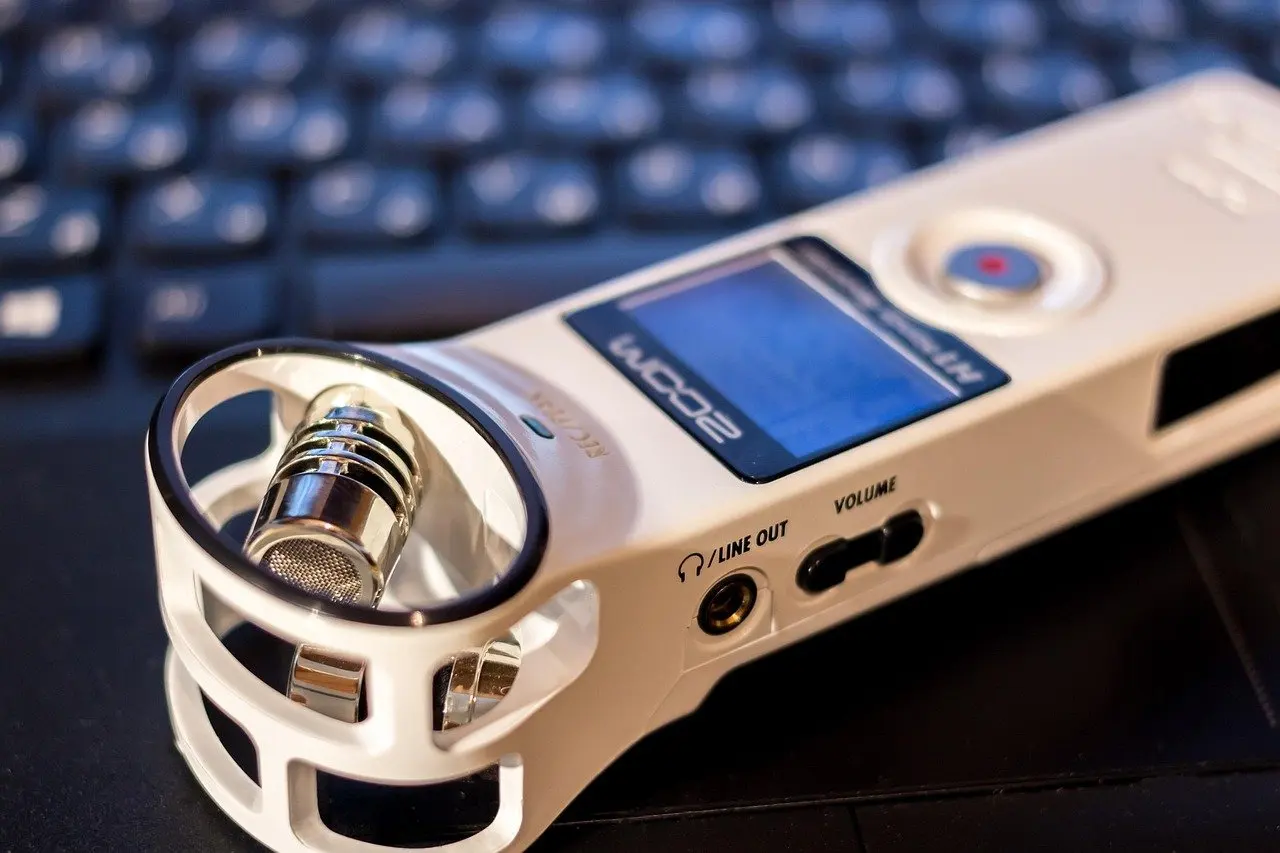
For recording equipment, consent forms and how to look after the recordings, the guide on how to document community oral history goes into the interview process in more depth than a cookbook project needs.
Make recording comfortable
Not everyone wants a microphone in front of them. Voice of Witness notes that parents in its project were nervous about being recorded. If a contributor hesitates, offer to take written notes instead, or let them write the story themselves and talk it through with you afterward.
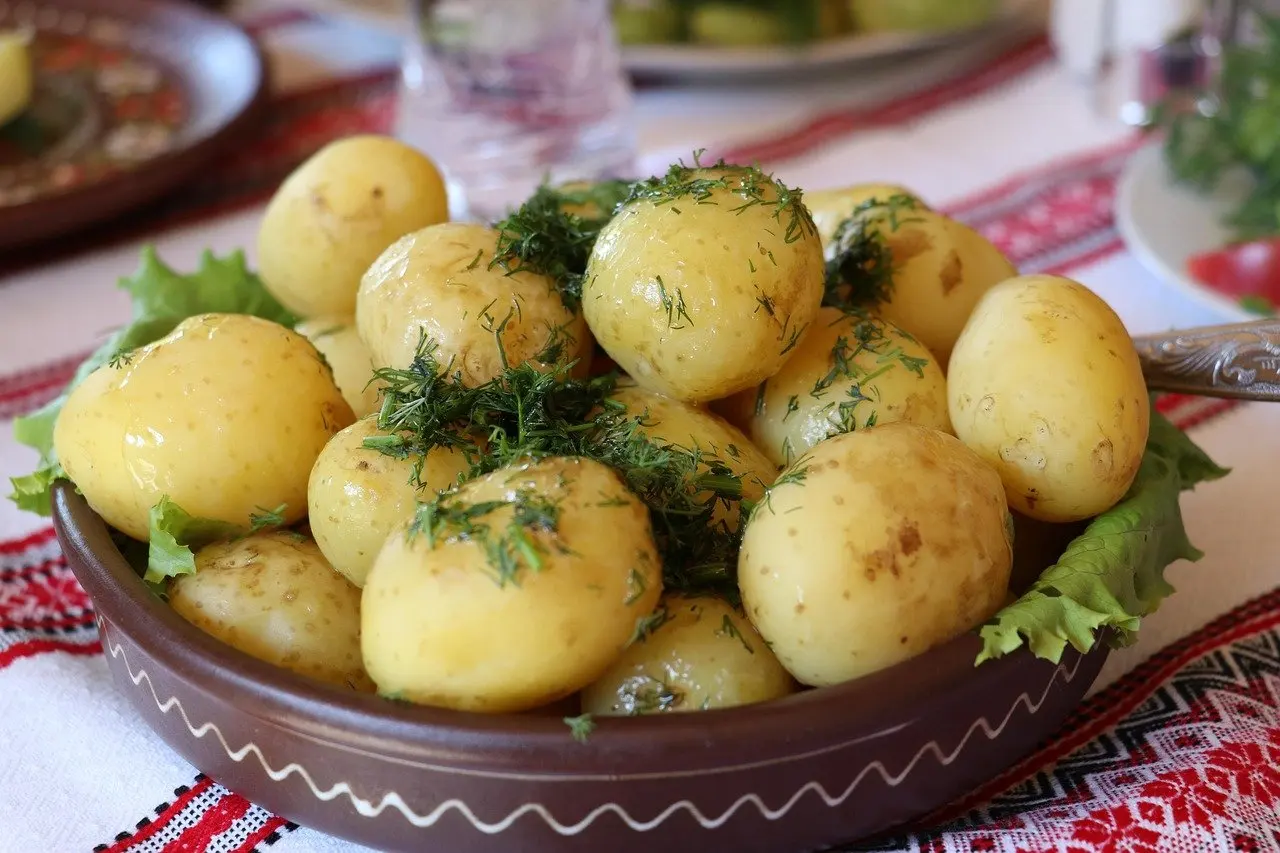
Photographing the finished dish, or the cook preparing it, gives each story a visual anchor. Once recipes and stories are in hand, the editing work begins.
Step three: Standardize and edit the recipes
Standardizing recipes means making every entry follow the same pattern, so a reader can move from one page to the next without relearning the format. Cookbook Specialists lists standard abbreviations used throughout and professional layout among the features of a well-made printed cookbook.
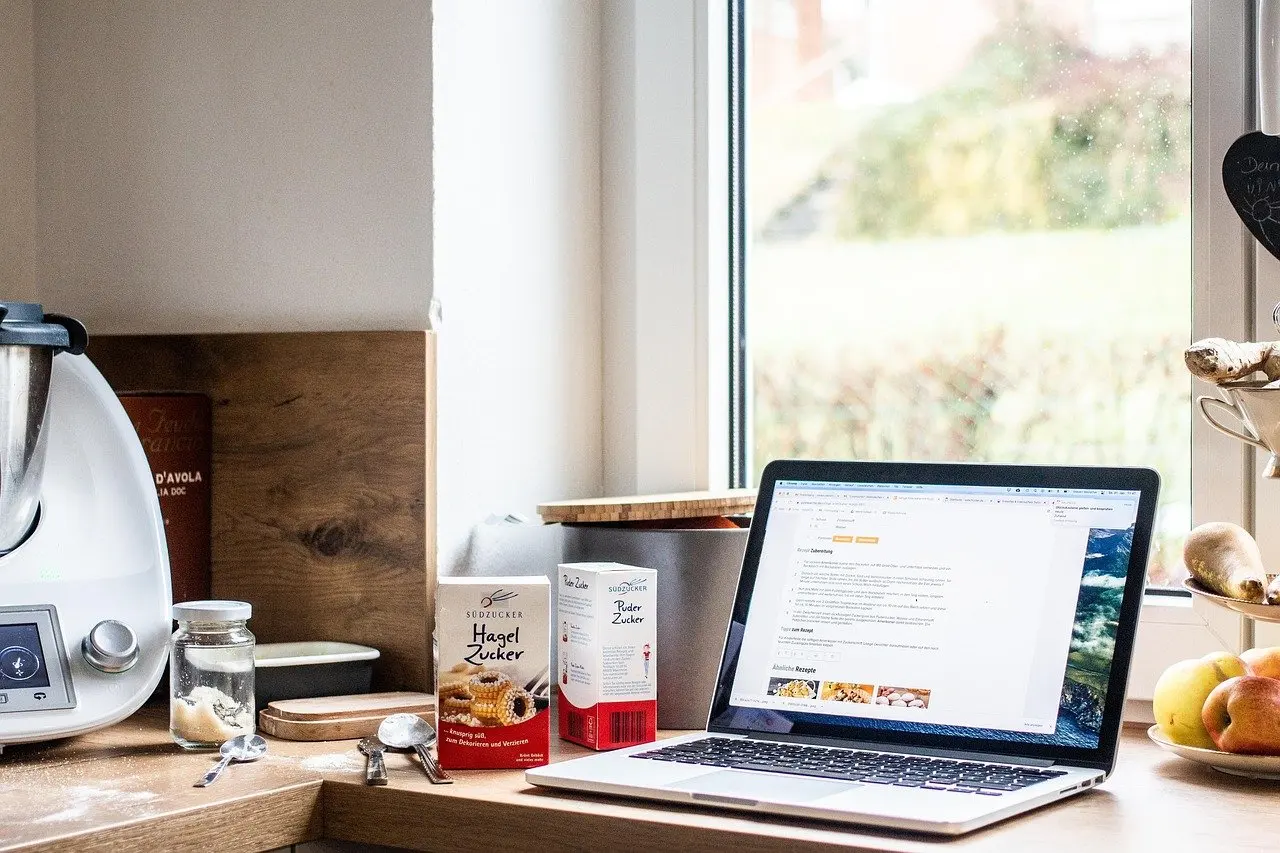
- Write a one-page style sheet. Decide the abbreviations for measures, the order of ingredients, whether the method is numbered, and where the contributor’s name sits. Apply it to every recipe.
- Retype each recipe into a template. Keep the cook’s voice in the story text and apply the strict format only to the ingredients and method.
- Check unclear steps with the cook. Family recipes often leave out details the cook takes for granted. Ask the contributor to confirm anything you had to guess.
- Keep one consistent order. Group recipes by course or by contributor, and use the same heading pattern for each page.
If a dish has no fixed measures, keep the contributor’s own wording and add a brief editor’s note rather than inventing quantities. That preserves the memory without making a promise the recipe cannot keep.
Step four: Credit contributors and confirm permission
Credit is the main reward contributors receive, so decide how it will work before editing begins. Voice of Witness reported that adults felt honored to be in the book and to be part of the celebration. That response is a reminder that a name printed beside a recipe matters to the person who shared it.
- Print the contributor’s name with the recipe. Pair it with the short story so the credit reads as a profile, not a footnote.
- Get agreement in writing. Ask each person to confirm that you may print their recipe, their story and any photograph. A short form attached to the recipe card is enough for a small neighborhood project.
- Let people review their page. Send each contributor the edited text before printing so they can correct names, spellings and details.
- Give contributors a copy. In the Voice of Witness project, students received their own copy at the launch, and some did not realize they would. Telling contributors in advance is kinder.
If a recipe came from a relative or a published source rather than the contributor’s own invention, say so on the page. Describe it as the contributor’s family version, which is accurate and still gives them credit.
Step five: Choose a print route
Printing is the point at which a manuscript becomes a book, and the right route depends on how many copies the group expects to hand out or sell. Print-on-demand and short-run printing suit small neighborhood projects because the group does not need to commit to a large stock in advance.
Cookbook Specialists says it offers custom covers, and front pages for fundraiser cookbooks and cites over 100 years of combined experience helping people and organizations create custom fundraising cookbooks. Request a proof from any printer you consider, and read it against your style sheet before approving the full order.
When comparing printers, ask about these points:
- Cover and front pages. Check whether the printer designs a custom cover, and whether your title and credits can sit on the front pages.
- Layout support. Ask whether the printer applies a professional layout to your recipes, or whether you must supply finished pages.
- Proof before print. A proof lets contributors confirm their pages before the group commits to the full run.
If the cookbook is also a fundraiser, the same printer notes that cookbooks make a great gift and are a perfect addition to fall festivals and holiday markets. Plan the timing so books are in hand before the event where you want to sell them.
Step six: Launch with the people who made it
A launch event closes the project by returning the book to the people whose food and memories fill it. In the Voice of Witness project, the launch was described as warm, with families happy and excited and food to eat. A neighborhood version can be a potluck where contributors bring the dishes from their own pages.
If the launch includes a performance, local singers can add to the occasion, and the guide on how to start a community choir is useful for groups thinking of pairing songs with food. Hand contributors their copies at the event and invite them to say a few words about their dish.
Checkpoints before moving on
| Stage | Checkpoint | Planning use |
|---|---|---|
| Collection | Every recipe arrives with a contributor name, by card or form | Stop collecting when you have enough dishes to fill the book and its sections. |
| Stories | Each dish has a short story the contributor has read | If someone declines to be recorded, switch to written notes. |
| Editing | All recipes follow one abbreviation and layout pattern | Fix inconsistencies before the proof, not after. |
| Printing | A proof has been checked against the style sheet | Approve the full run only when contributors have confirmed their pages. |
The checkpoints draw on the recipe-collection and layout advice from Cookbook Specialists and the story-preparation approach in the Voice of Witness cookbook project.
Frequently asked questions
Can a community cookbook raise money?
Yes. Cookbook Specialists describes custom fundraising cookbooks as a great gift and a good fit for fall festivals and holiday markets, so timing the printing around those events is sensible.
What if contributors are nervous about being recorded?
Offer written notes or let them write their own story. Voice of Witness reported that parents in its project were nervous about being recorded, so a non-recorded option keeps more people involved.
Is a cookbook really a food history project?
It can be. Voice of Witness describes a cookbook containing the stories and recipes of people from across Central America and the United States, showing that recipes can carry personal and community history when stories sit beside them.
Can the local library help?
Libraries are a reasonable first contact. The American Library Association reports libraries using gardens to promote community engagement, so a food and memory project fits the same outreach role. Ask about display space, a collection box or a launch venue.