| Phase | Key action | Condition | Planning use |
|---|---|---|---|
| Prepare | Write questions to fit the interview slot and invite each narrator with an estimated length | Suggested length in outreach is 20–30 minutes; send a reminder a day or two before | Sets the number of questions and the schedule for each session |
| Consent | Document informed consent | Strongly recommended before the interview, not afterwards | Decide on a signed form or a recorded statement before the first session |
| Record | Ask permission to record in advance, choose a quiet space and test equipment in a non-recorded pre-interview chat | Minimal distractions in the room | Prevents surprises on the day and protects audio quality |
| Preserve | Create a time log of topics with time stamps for each recording | Brief descriptions of important topics | Makes long recordings searchable for later users |
The phases above draw on the National History Day guidelines for conducting oral history interviews and a public library’s oral history forms guide.
Learning how to document community oral history means working through a sequence: plan, secure informed consent, record clearly, label the files and choose an archive. Each stage depends on the one before it.
Oral history sits alongside other community culture work, including questions like how does music build community, and the same careful consent applies to every kind of story you collect.
Planning the project
An oral history interview is, in National History Day’s wording, a conversation, conducted virtually or in person, between a researcher and a person they have selected. A community project is a set of those conversations that share a purpose, so the planning decisions come before any recording.
The Oral History Association’s principles and best practices, updated in 2018 with an addendum added in 2019, are the guiding standard. A university library guide describes them as practices meant to produce historically valuable and ethically conducted interviews. Treat them as the benchmark for your own project rules.
What to settle before the first interview
- Define the focus. Pick a neighbourhood, a trade, an institution or an era, so every interview adds to the same collection.
- List possible narrators. Choose people who can speak to that focus, and consider who is most urgent to record.
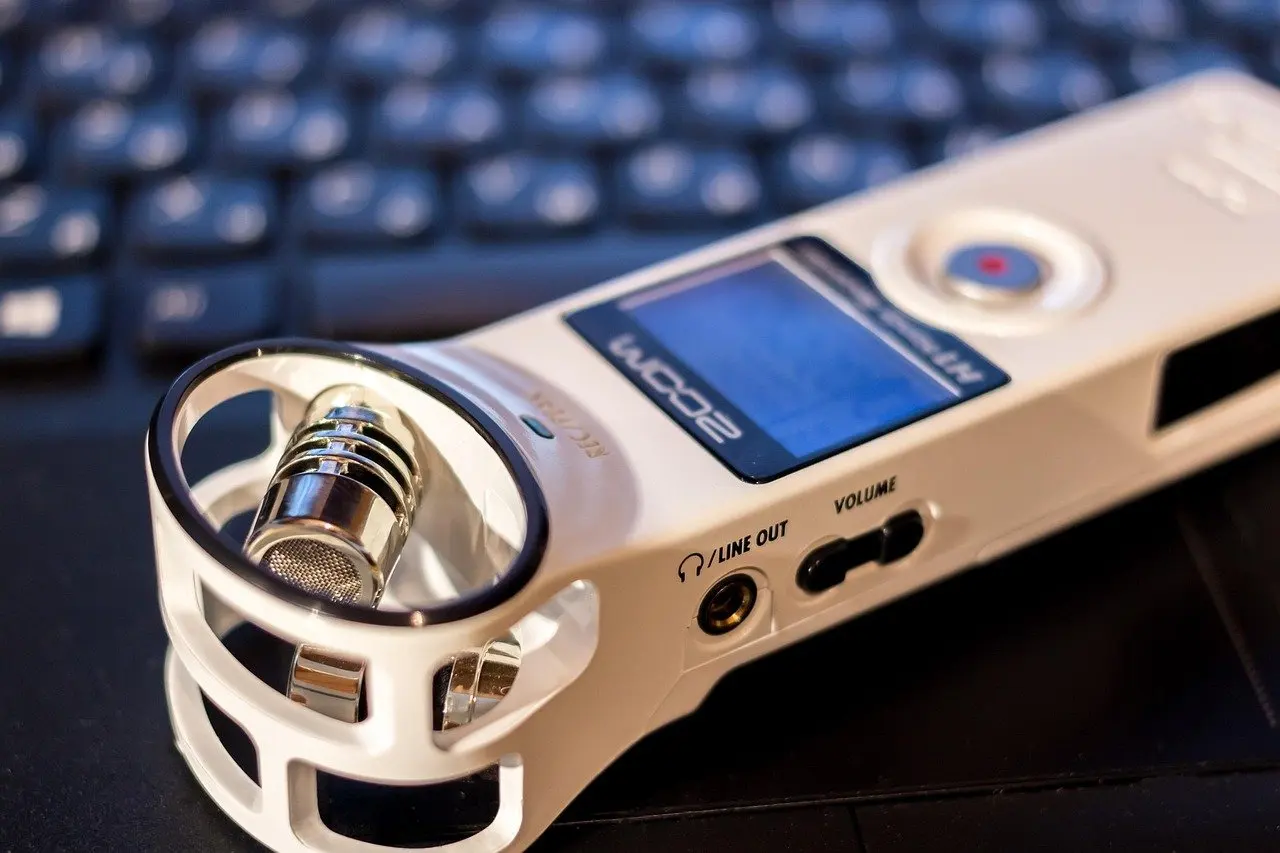
- Choose equipment. Capturing oral history requires basic audio recording equipment, and a handheld digital audio recorder is enough for most community projects.
- Prepare consent paperwork. Have the release form ready so it can be explained when you invite someone.
- Name the destination. Decide where recordings will be kept, because an archive’s requirements can shape your file labelling and forms.
Free help exists for beginners. The University of California, Irvine toolkit is a free resource of six modules suited to single interviews or community projects. The Cal State LA guide above covers preparation, interviewing, preservation and access, which matches the stages here.
Writing interview questions for community members
Good oral history questions are planned against the clock. National History Day advises considering the time allotted for the interview when writing down and organizing your questions, so a short slot calls for a short, ordered list.
Because the same project may involve many narrators, build one core list and adapt it. Open with questions about the person’s own background and connection to the place, then move to the topics the project is about, and close with an invitation to add anything you did not ask.
- Start with open prompts. Ask people to describe a place, a job or a routine, rather than questions that can be answered with a yes or no.
- Order by theme. Group questions by topic so the conversation flows and the time log is easier to write later.
- Leave room to follow up. A list is a guide, and the best material often comes from a follow-up to something the narrator mentioned.
- Keep a reserve. Mark which questions can be skipped if the conversation runs long.
When your narrators are older residents, the sibling guide on how to interview elders about local history goes deeper on pacing and memory prompts. Food memories collected this way can also feed a printed project, as covered in how to make a community cookbook.
Consent and release forms
Yes, a project needs a way to document consent. A public library’s guide says it is vitally important to document informed consent, and strongly recommends doing so before the interview.
Two ways to document consent
The same guide describes two approaches. One is a recorded consent statement at the start of the tape. The other is a signed consent and release form. Either way, the aim is to document that all participants agree to be recorded and to the use of the interview in publishing.
A written form suits a project that will publish or deposit recordings, because the narrator can read the terms in advance. A recorded statement is a useful backup if a signature cannot be collected in person, though a form remains the clearer record for an archive.
What a release form should cover
- Agreement to be recorded. The narrator confirms they consent to the recording itself.
- Permitted uses. The form states how the interview may be used, including publishing, so the narrator knows what they are agreeing to.
- Licence wording. Some institutions use Creative Commons language in oral history release forms, as in the Duke University example the library guide links to.
Sample consent and release templates from UNC-Chapel Hill and Duke University are linked from the library’s forms page, which makes them a sensible starting point for adaptation. The page also states that these forms in no way constitute legal advice, so a project that expects to publish widely should have its final wording reviewed by someone qualified.
Recording the interview
Usable audio comes from preparation more than from expensive gear. National History Day recommends asking for permission to record in advance, because you do not want any surprises at the interview.
The pre-interview conversation
The library guide describes a pre-interview as an informal, non-recorded conversation in which the narrator and interviewer map out mutual expectations and test recording equipment. Use it to explain the project, hand over the release form and try the digital audio recorder in the actual room.
Setting up on the day
- Choose the room. Pick a space conducive to an interview with minimal distractions, as the National History Day guidelines advise.
- Check the recorder. Confirm that it is working and listen to a short test before the narrator settles in.
- Document consent. Collect the signed form or record the consent statement at the start.
- Ask your prepared questions. Keep to the time you promised, which keeps the narrator comfortable and the file a manageable size.
- Confirm details. Close by checking the spelling of names and places mentioned, so labelling is accurate later.
For scheduling, the same guidelines suggest giving an estimated length when you invite people, with 20–30 minutes as the suggestion, and sending a polite confirmation a day or two before. Shorter sessions suit narrators who may tire, and a second session is better than a rushed first one.
Preserving and labelling recordings
Recordings need documentation to stay useful. The library guide recommends a time log, which gives a brief description of important topics and the time stamps at which they occurred, so someone can find a passage without listening to the entire file.
Transcription is the fuller option. A Texas Tech guide listed by the Society of American Archivists covers in-person or remote interviews, types of recording equipment, release forms and transcription. A transcript costs more effort than a time log, so a volunteer-run project can start with logs and add transcripts for the most important interviews.
- Label each file. Use a consistent naming pattern that identifies the narrator and interview.
- Keep paperwork with the audio. Link each signed form to its recording so permissions travel with the file.
- Back up in separate places. Keep copies of recordings and forms in more than one location so a single failure cannot erase the collection.
Sharing and depositing finished recordings
Decide where recordings will live before you promise narrators anything about access. The best fit depends on your community and the terms in your release form.
- Library of Congress. The Veterans History Project offers step-by-step guidelines, including a Fieldkit Companion Video that anyone can follow, covering the path from the interview to sending everything to the Library of Congress. It suits projects that include veterans.
- Your public library or local archive. A public library’s local history collection is a natural first enquiry. Ask what file formats, forms and descriptions it requires before you record.
- University programs. University special collections teams, such as the one behind the UCI toolkit, publish guidance that is useful even if your recordings are kept elsewhere.
These options are described in the Society of American Archivists’ oral history resources. Whichever route you choose, make sure the permitted uses in the release form match what the receiving institution will do with the material.
Troubleshooting common problems
- The room turns out to be noisy. Move to a quieter space or reschedule. Low distraction matters more than a convenient location.
- A narrator hesitates about publication. Return to the form’s permitted uses and adjust what they agree to rather than pressing for full consent.
- Equipment fails mid-session. Stop and fix it, then note the gap in the log. A pre-interview equipment test makes this less likely.
- Nobody can sign in person. A recorded consent statement is an accepted alternative described by the library guide, though a signed form is preferable when possible.
- Volunteers are unsure of the standards. Share the Oral History Association principles and the free UCI modules with everyone before they conduct interviews.
Frequently asked questions
How long should a community oral history interview last?
National History Day suggests telling narrators the estimated length when you invite them, with 20–30 minutes as its suggestion. Plan the question list to fit that slot.
Can a recorded statement replace a written consent form?
A public library’s guide lists a recorded consent statement and a signed consent and release form as two ways to document agreement. Both should confirm recording and use in publishing.
Can I rely on sample release forms as legal advice?
No. The library guide that links sample templates from UNC-Chapel Hill and Duke University states that the forms in no way constitute legal advice.
Is there a free toolkit for a community project?
Yes. The University of California, Irvine toolkit is a free resource of six modules for single interviews or community projects, and the Oral History Association’s principles are available alongside it.